How to Get Started | TrackNotion

How to Get Started

Welcome to TrackNotion! This guide will walk you through setting up your account, creating and managing campaigns, customizing call flows, and using dashboards to monitor campaign performance.

1. Account Setup

Follow these steps to create your TrackNotion account:

If you don’t already have a TrackNotion account, you can begin by clicking the SIGN UP button on the top right corner of the page.

From there, you can follow the steps below to set up your account.

  1. Choose Your Plan: Select a plan that meets your needs and click ‘Next’.
  2. Select Account Type: Choose between a ‘Business’ or ‘Personal’ account, then click ‘Next’.
  3. Provide Company Email: Enter your company email address and click ‘Continue’.
  4. Create Your Account: Enter your name, create a strong password, and agree to the TrackNotion Privacy Policy and Terms of Service. Click ‘Create Account’ to proceed.
  5. Verify Your Email: Check your email for a One-Time Pin (OTP) and enter it in TrackNotion to verify.
  6. Enter Company Details: Input company information and select ‘Review’.
  7. Review & Finalize: Confirm your details and enter billing information. Please note that even if you have chosen the Free Trial, you will still need to provide billing information.

2. Creating a Campaign

Creating a campaign in TrackNotion is simple. It allows you to track, monitor, and record calls coming into your business from various sources.

  1. From the dashboard, click + Add Campaign (top-left).
  2. Choose your type:
    • Static Placements: One number per touchpoint—best for offline ads, social media, or Google Business Profiles. Use a unique campaign for each source (e.g., one for Facebook, one for flyers) to track what’s driving calls. Why? A single number muddies attribution—separate numbers show which channels work best.
    • Dynamic Placements: Unique numbers per website visitor—ideal for digital channels like your site. Tracks every click’s source (e.g., Google Ads vs. email) with precision. Requires a script—more on that below.
  3. Name it clearly (e.g., “Facebook Ads Q1”) and add a description, then click Select.

2.1. Static Placements

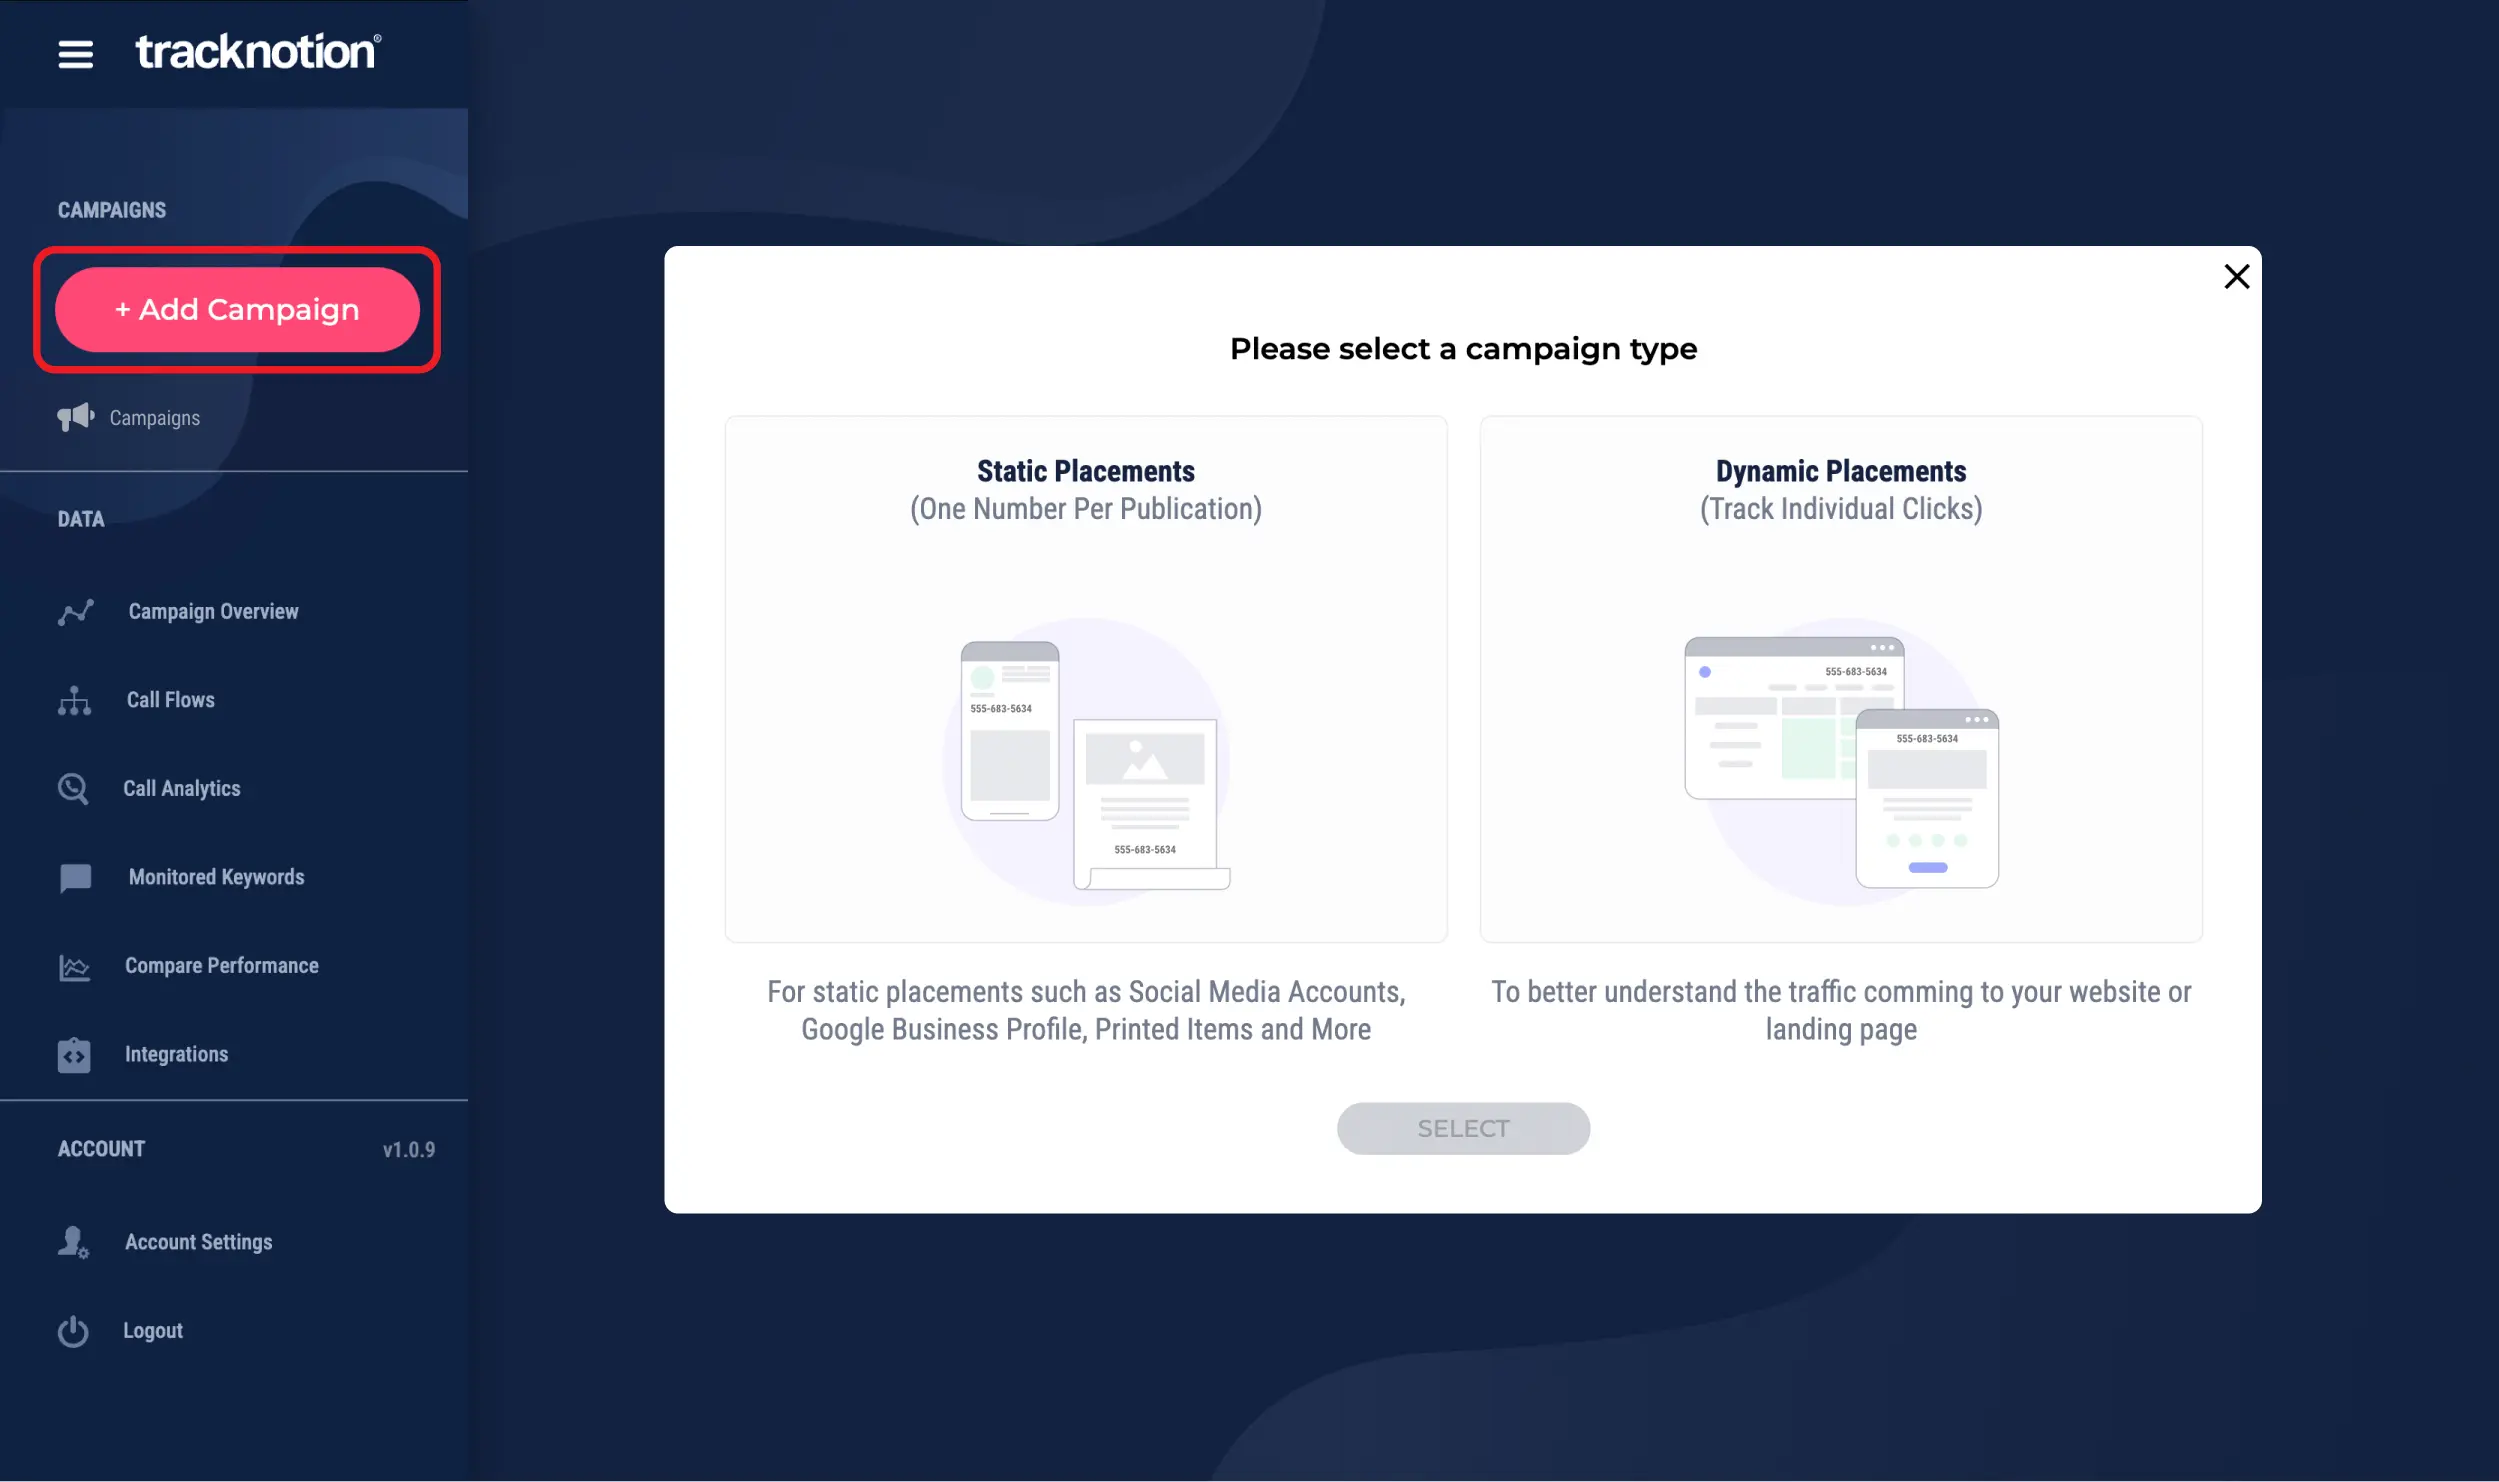
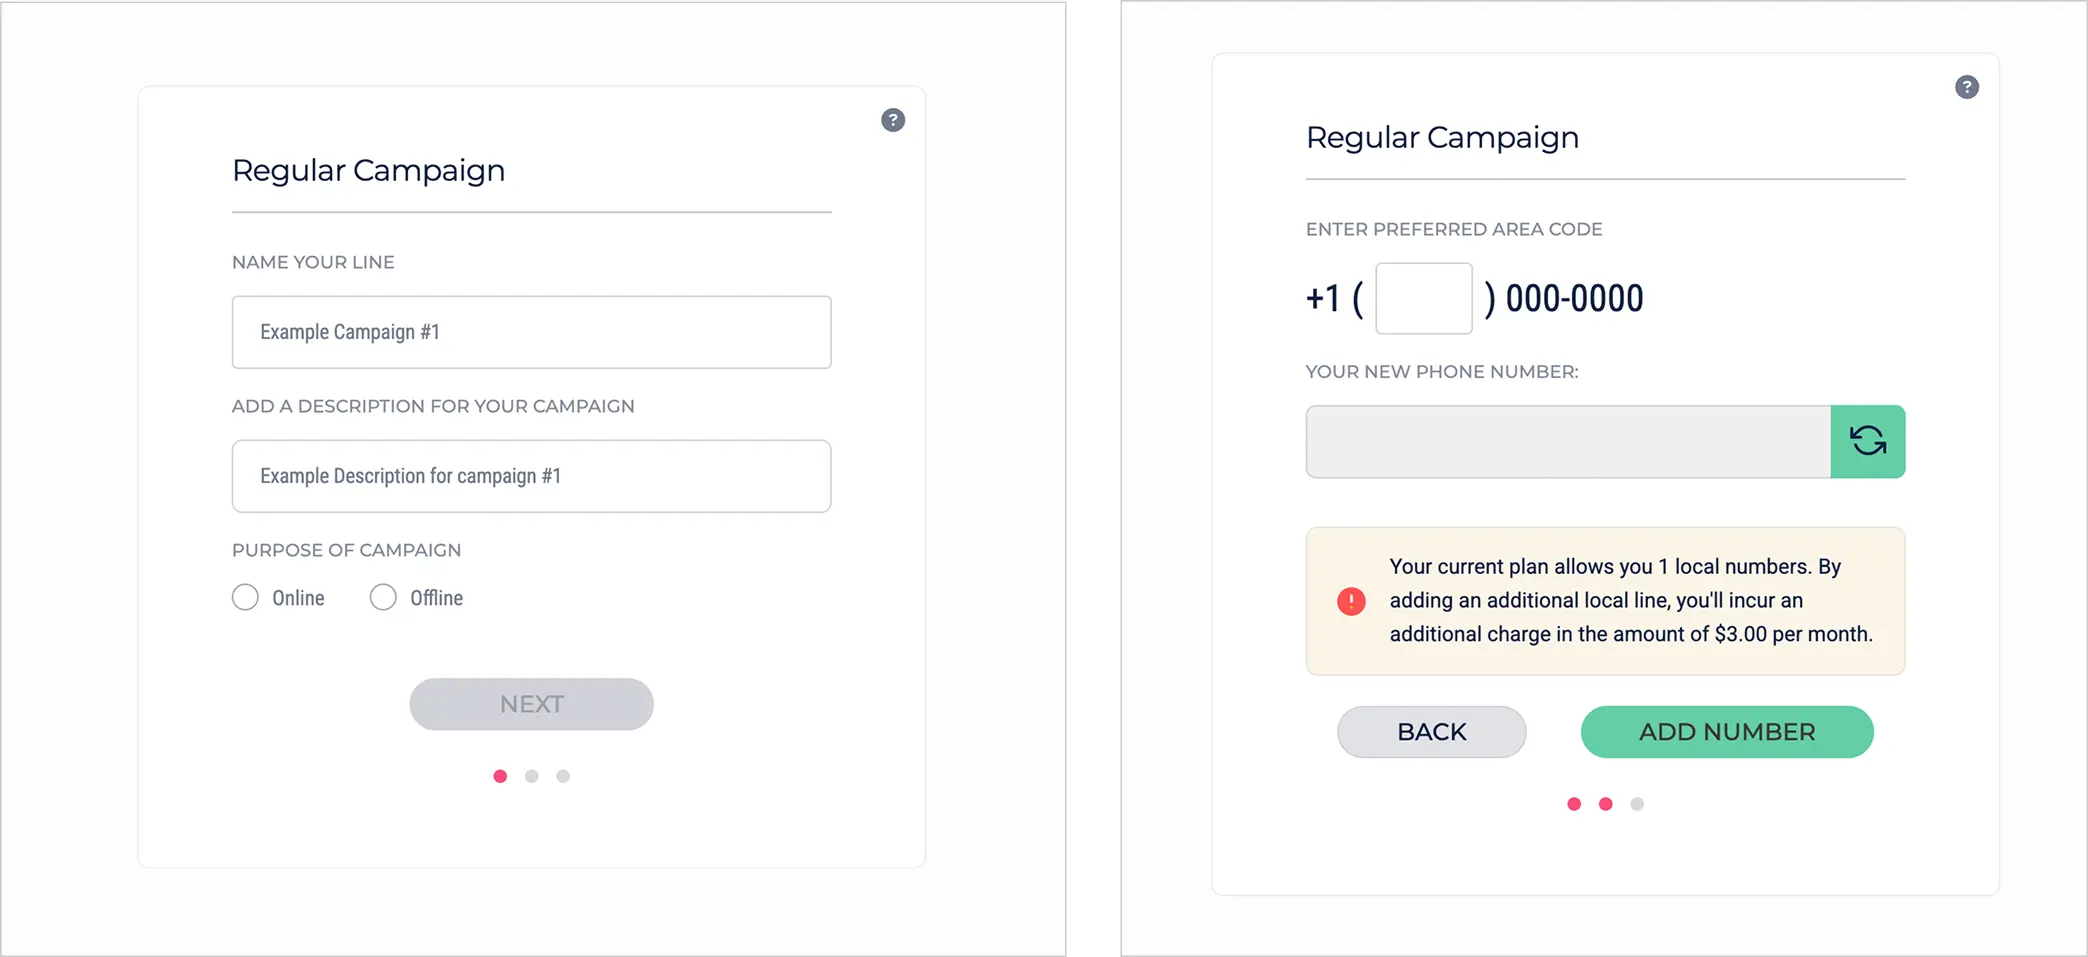
Track calls from specific sources with one number per campaign:

  1. Name your line: Naming the line is crucial, if the lines are planned out and named correctly, it helps the user understand the origin of the call. It is all about attribution.
  2. Details: Pick Online (e.g., social ads) or Offline (e.g., print).
  3. Number: Enter an area code, generate a number, and click Add Number (refresh if needed).
  4. Call Flow: Link a custom flow or use the default (learn more).

Why multiple static campaigns? One number across all platforms hides what’s working. Separate campaigns (and numbers) for each touchpoint—like Google Ads, Instagram, or business cards—give you clear attribution and smarter insights.

2.2. Dynamic Placements

Track every website visitor with unique numbers from a pool:

  • Details: Add a name and description.
  • Script First: Install the TrackNotion script on your site (via Google Tag Manager or direct <head> code) to swap numbers dynamically. See setup details.
  • Number Pool: Enter an area code and set a pool size (e.g., 10 numbers). This depends on simultaneous site visitors—check your analytics for peak sessions and add a buffer (e.g., +5). Note: More numbers than your plan allows may increase costs—check your tier!
  • URLs: Add full URLs (e.g., https://example.com) for tracking.
  • Call Flow: Connect a custom flow you’ve built or stick with the default for now—fully customizable later.

To learn more about setting up a call flow, click here.

Static vs. dynamic? Static uses one number per campaign for broad sources; Dynamic assigns unique numbers per site visit for detailed digital tracking. Use Static for simplicity, Dynamic for depth.

3. Campaign Overview Dashboard

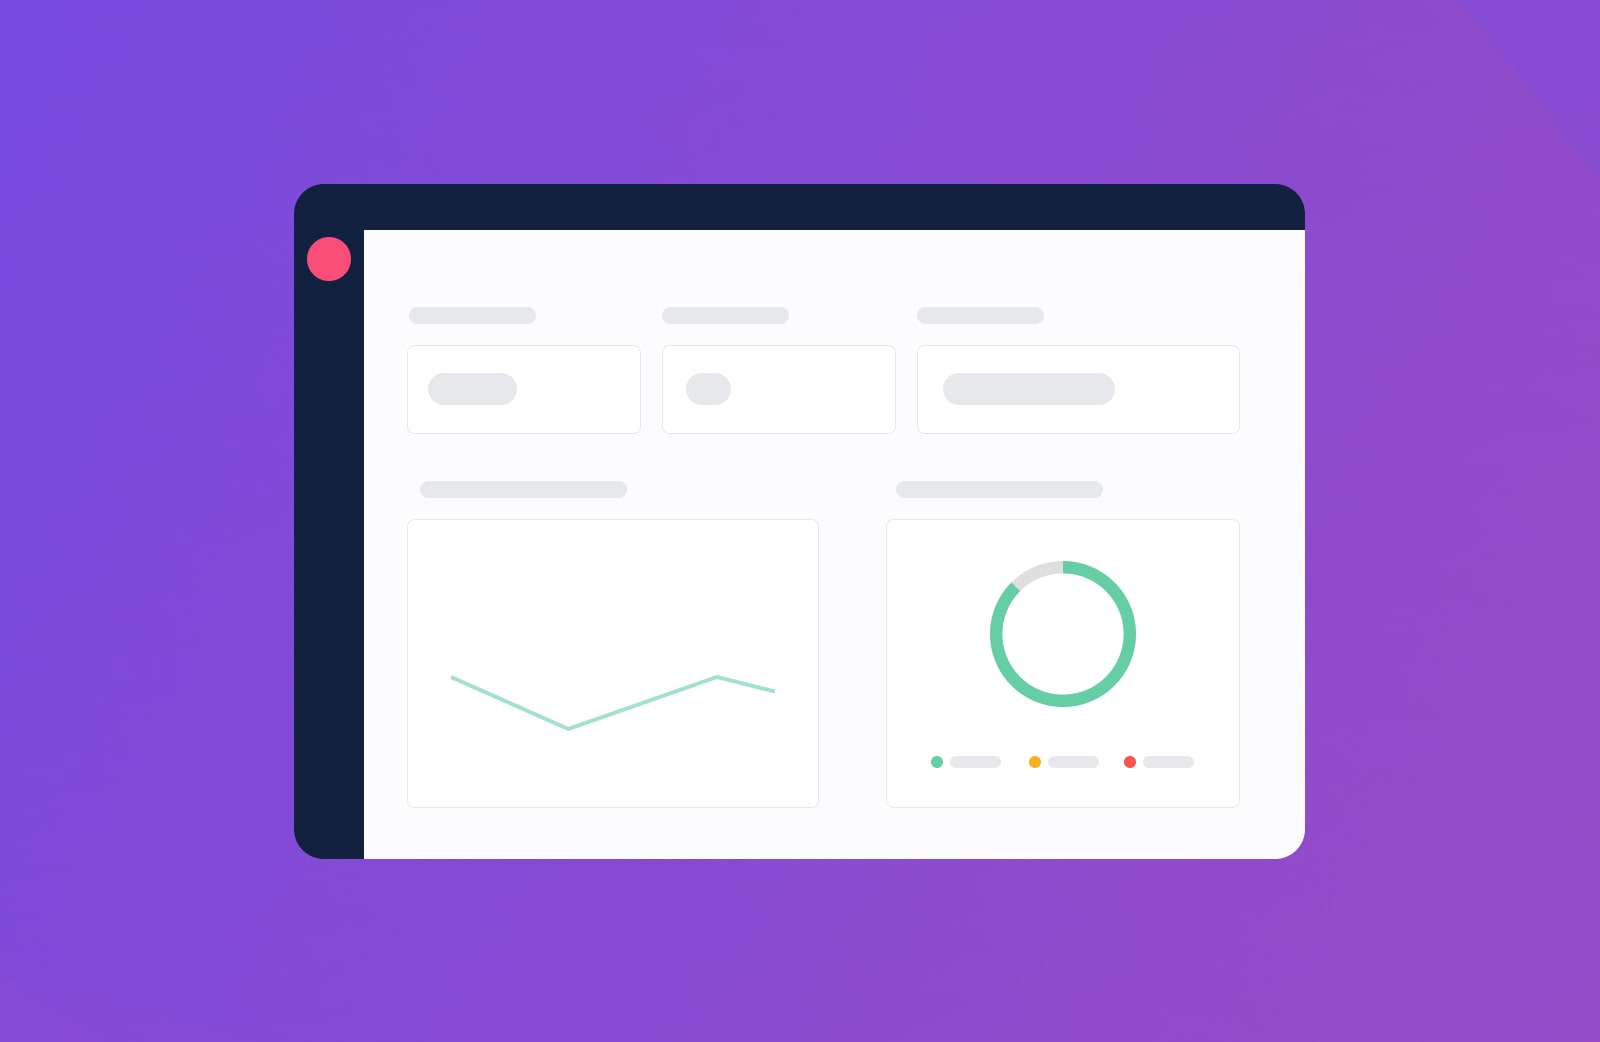
Use the Campaign Overview Dashboard to view high-level statistics about your calls.

  1. Select Campaign: Choose a specific campaign or view all campaigns simultaneously.
  2. Filter by Date: Apply date filters for insights over time.
  3. Call Volume & Metrics: Track total and unique calls, peak times, and average sentiment scores.
  4. View Call Volume Graph: Analyze call distribution by the hour to identify peak calling times.

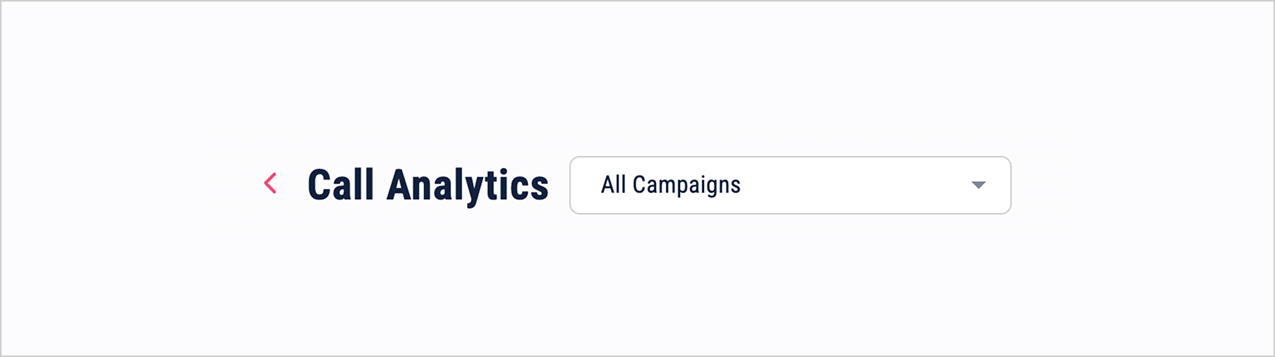
4. Call Analytics Dashboard

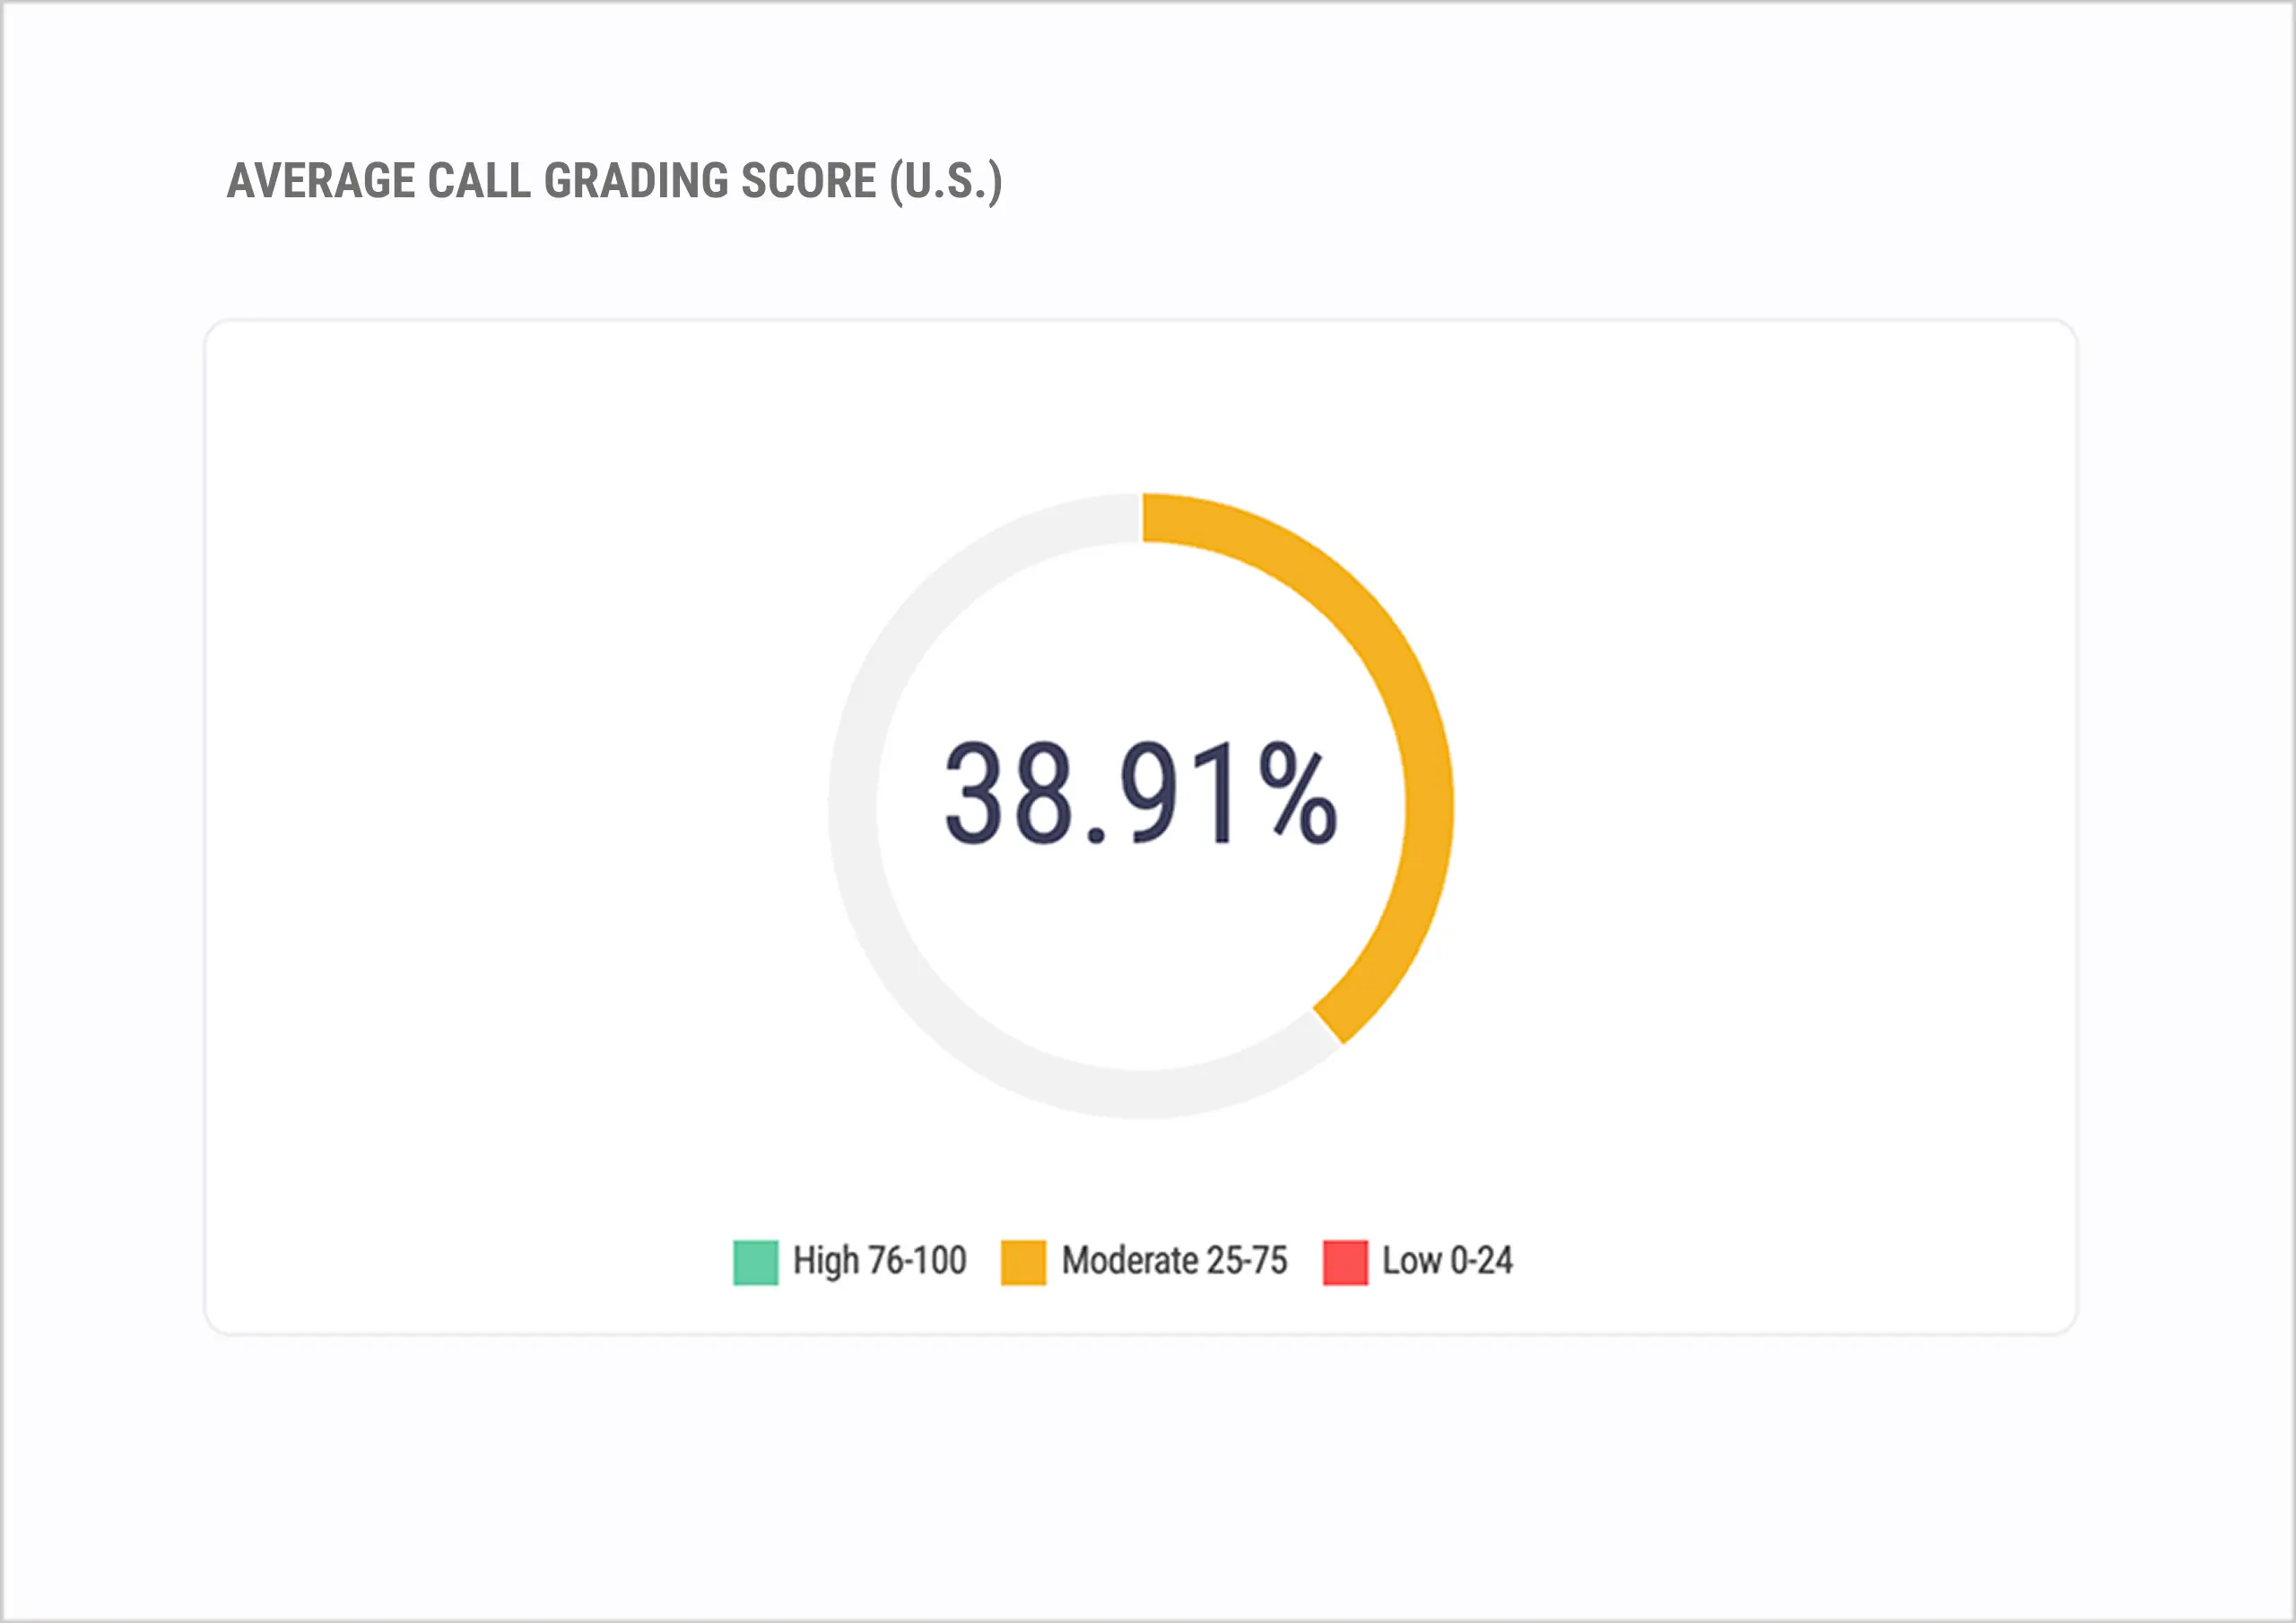
The Call Analytics Dashboard provides detailed information on individual calls.

  1. Select Campaign and Filter Data: Apply filters to narrow down results by date, sentiment score, and call duration.
  2. Explore Call Details: Listen to call recordings, view transcripts, and access additional details.

5. Monitored Keywords

Add Monitored Keywords to track specific phrases during calls and evaluate customer satisfaction.

  1. Add Keywords: Go to the Monitored Keywords dashboard and click ‘+ Add Keywords’.
  2. Assign Sentiment Scores: Set sentiment scores to prioritize important keywords.
  3. Save: Save the keywords to apply them to your selected campaigns.

6. Compare Performance Dashboard

The Compare Performance Dashboard lets you evaluate multiple campaigns.

  1. Metrics Comparison: Compare call durations, total calls, and sentiment scores.
  2. Analyze Trends: Use this comparison to identify strong and underperforming campaigns.

FAQs

What’s in the free trial?

Access to basic features: 1 static number, limited minutes, and core dashboards. Upgrade for more numbers and advanced tools.

When Will I Get Charged?

The trial is free for 14 days. Billing starts after that unless you cancel or upgrade early. Check your plan in Account Settings.

Static vs. Dynamic—Which Should I Use?

Static for simple, single-source tracking (e.g., a flyer). Dynamic for websites and multi-channel digital campaigns.

Can I Change Plans Later?

Yes, anytime! Adjust in Account Settings to match your needs.

See Tracknotion benefits in action

Insights you should have